For first time buyers, knowing how to select and install a water storage tank can help to maximize the tank’s effectiveness in providing water and potential service life. Correctly installing a water tank can also be important to ensure personal property and people remain safe. An improperly placed or installed water tank can have disastrous effects and can lead to extensive flooding, property damage, irreparable tank damage, or worse a severe injury. Water tank installation procedures are also important when adding another tank into a system to increase the total volume of water available.
6 Steps to a Perfect Water Tank Installation
The best practice for selecting and installing a water tank will consider and put to work the following six steps:
- Understand Intended Water Tank Use
- Match Tank Selection and Specifications
- Choose an Ideal Tank Location
- Perform Site Preparation
- Move and Place Water Tank
- Install Water Tank Plumbing Connections
1) Intended Water Tank Use
While this is a likely consideration for most prior to purchase, understanding the water tank’s intended use will streamline product selection, contribute to successful installations, and help avoid undesired setbacks. The most common water tank uses are for rainwater harvesting, collecting and holding well water for property use, commercial applications, small business jobs, industrial manufacturing, process lines, and storing water that has been delivered to households or farms in arid, drought frequent locations.
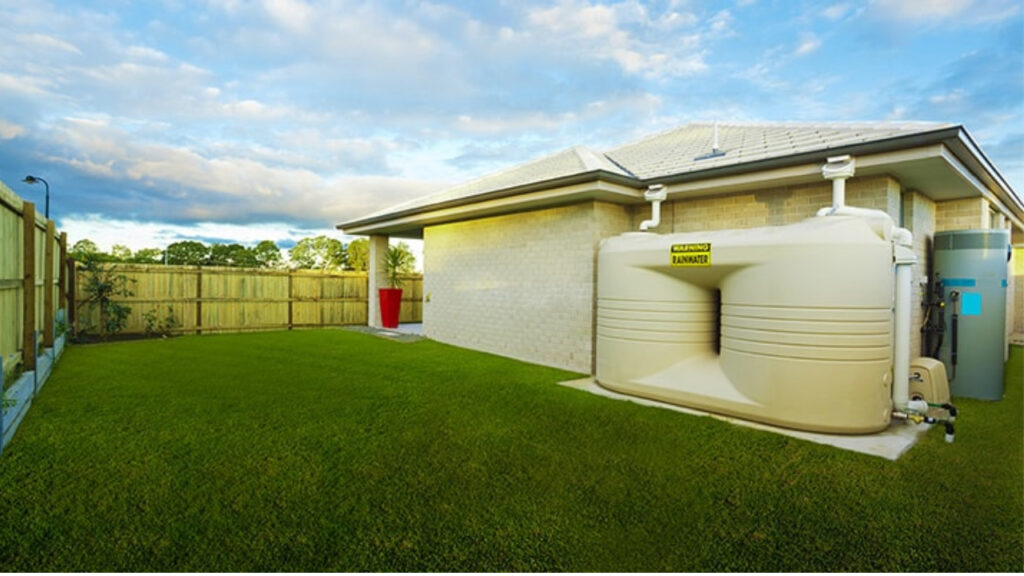
By understanding the specific use case, the water tank installation can be better planned. For example, if the tank is intended for rainwater collection, water tanks are best strategically installed near downspouts, properly sized, and within proximity to the rain harvesting structure as this will decrease costs, plumbing runs, as well as provide shelter protection.
In other common water tank use scenarios, such as well water storage or storing transported water, it may be best to plan the installation in an area that is easy to access for maintenance and various plumbing.
For portable water tanks, the intended use is to transport water from one location to another. Common examples include to provide water for livestock, irrigate and treat crops, hauling water to remote dwellings, or for business use such as power washing. In these applications, knowing or approximating how much water may be needed will help in selecting the right water tank. For more information on portable tanks, see our Poly Tanks Series post on 5 Types of Portable Water Tanks.
2) Match Tank Selection and Specifications
When shopping for a poly water tank, select the tank with the right specifications that match what you will use it for. Example water tank specifics include tank color, shape, size, volume capacity, construction material, and total price.
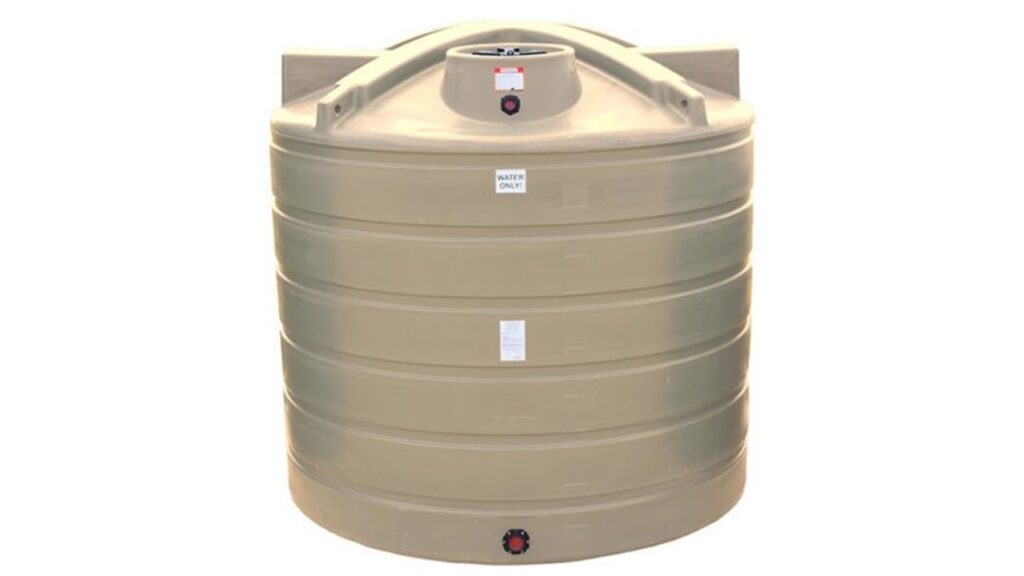
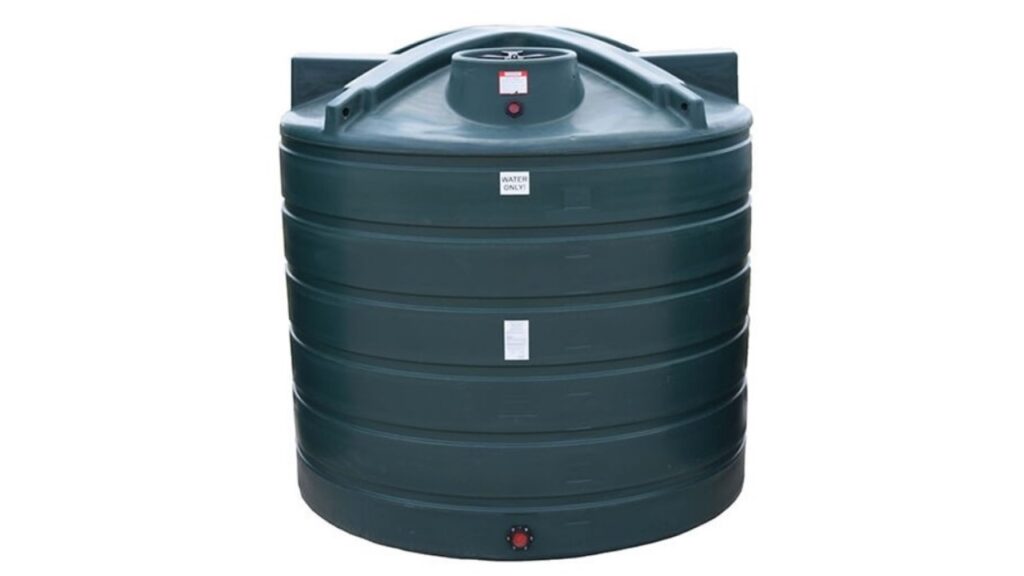
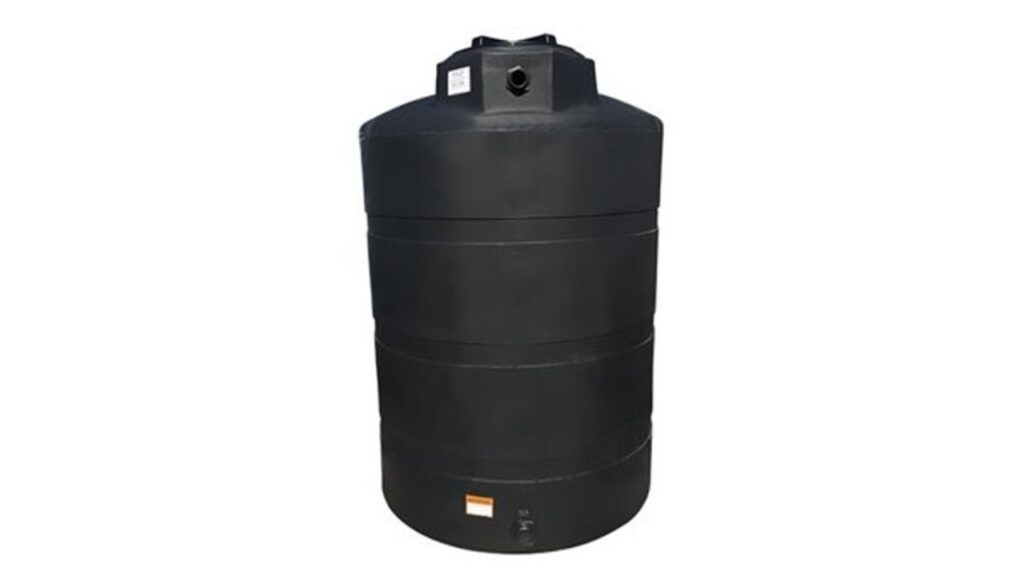
Color
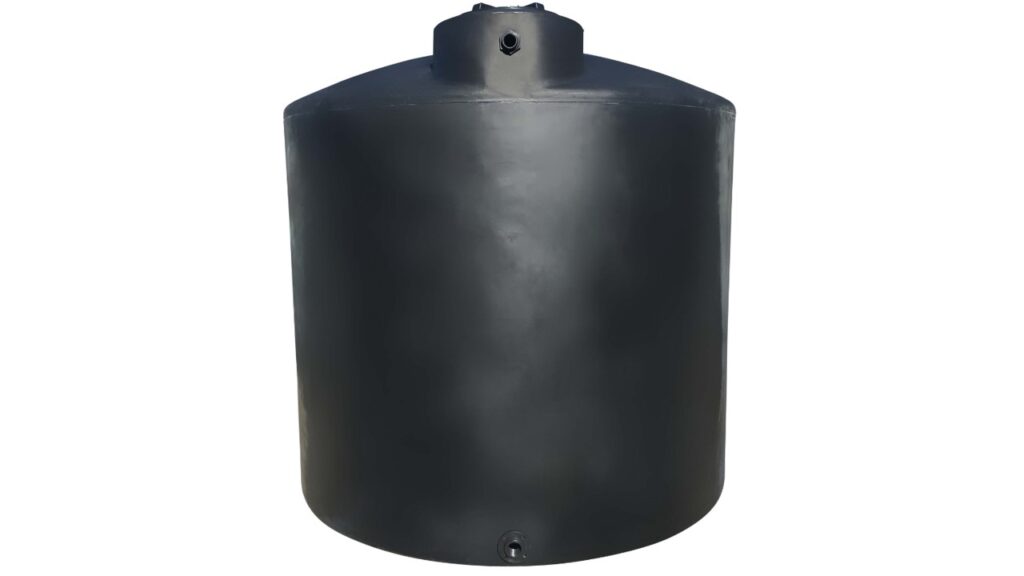
Water tanks can be made in many colors to match their surroundings, provide sunlight protection, or simply to set a visual appeal; at least for plastic tanks, metal has to be painted. When used for fresh drinking water, water tanks must be fabricated only from colors approved for food grade contact. These colors are often: white, black, blue, dark green, and beige.
When installing a water tank by color, dark colors such as black and dark green are best to limit the common algae growth problem because they restrict the amount of sunlight that passes through the tank.

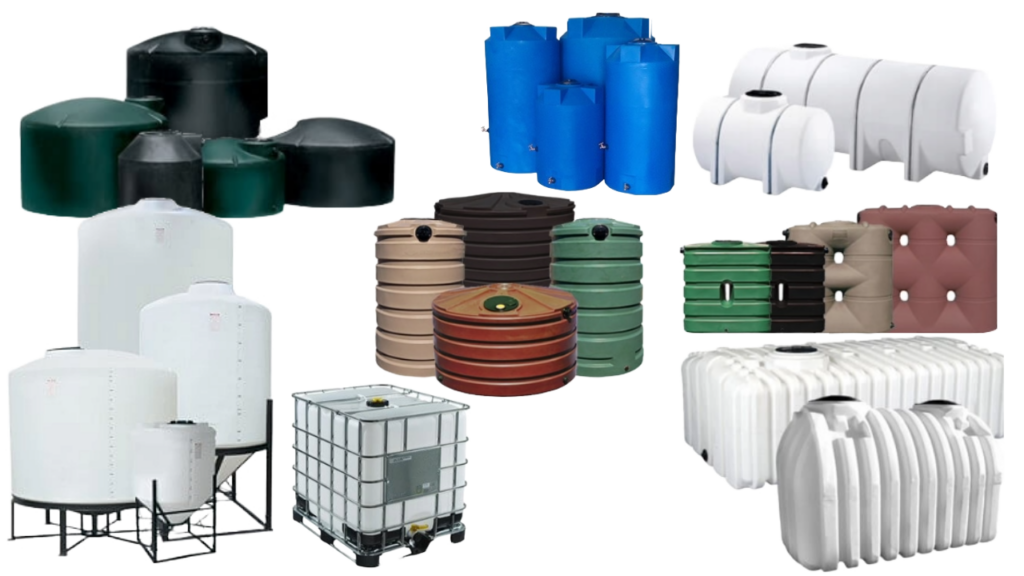
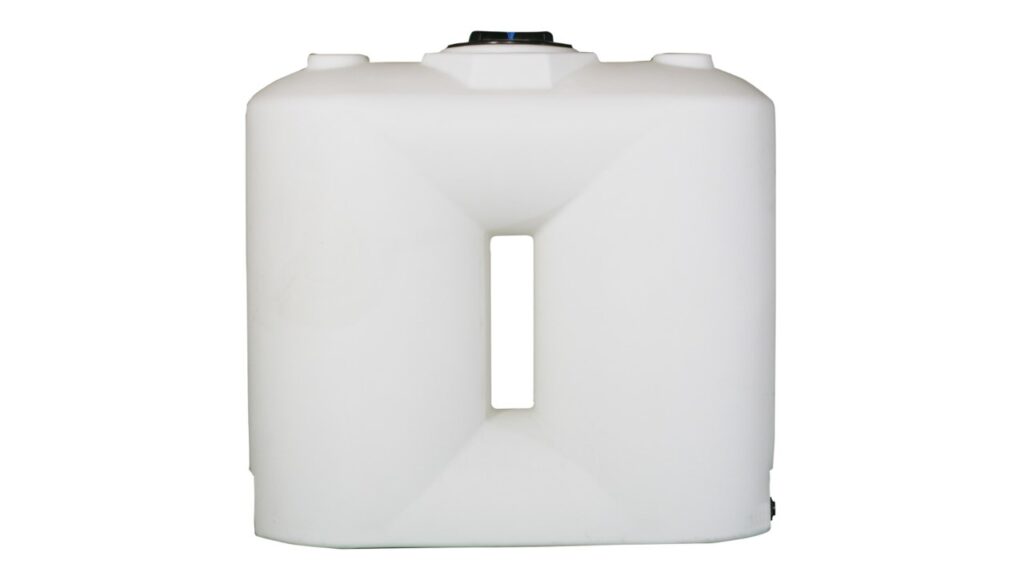
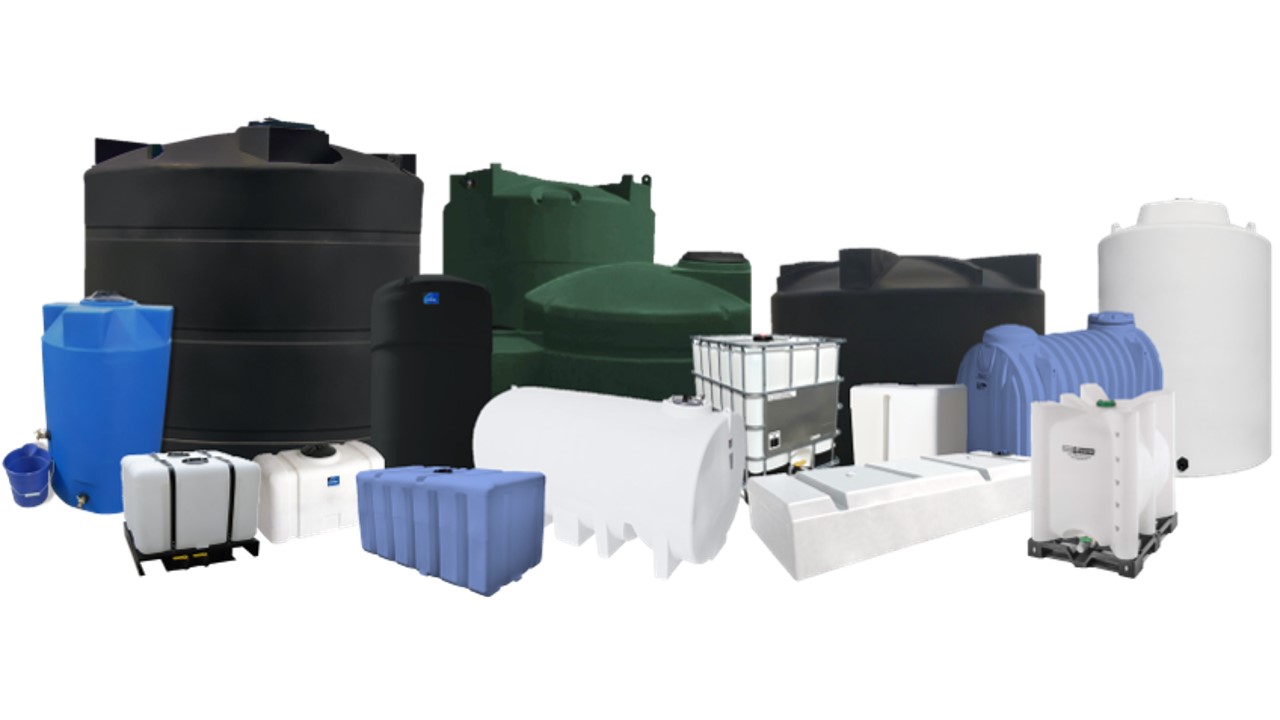
Shape and Size
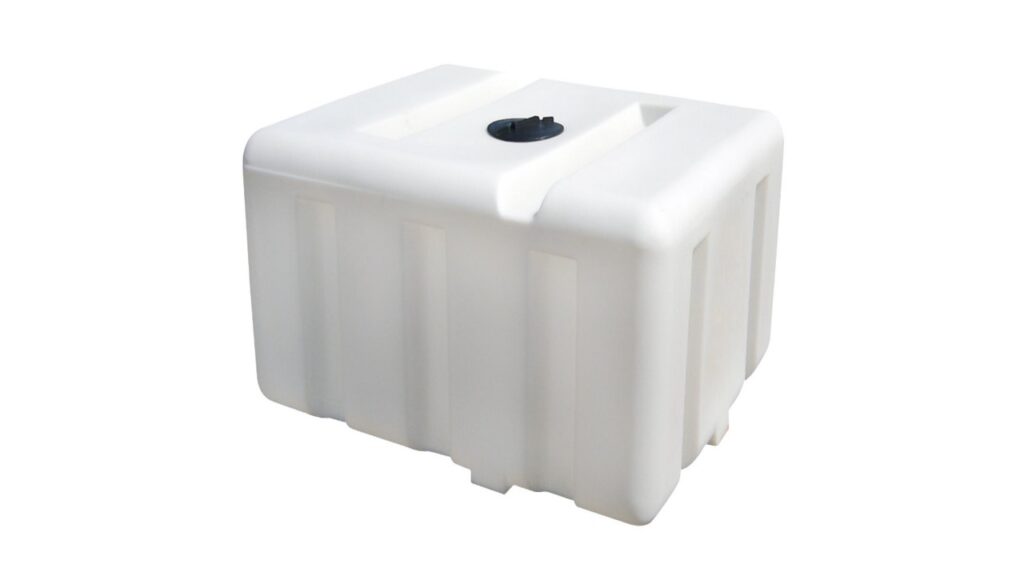
Water tanks come in various shapes and sizes. Some have low heights and large diameters while others are tall and slender, ranging from small to large. Many are circular in shape as this provides the greatest engineering and structural support against the weight of the water. Slimline doorway water tanks are rectangular and have a slender width to allow installation in tighter areas and take up less space. Many portable water tanks, such as IBC totes and utility tanks, are cube-shaped to allow for greater organization, handling, and modularity.
When installing a water tank, select the shape and size easiest to maneuver into place, handle when needed, and that best fits your use and desired location.
Volume Capacity
Water tanks can be purchased from as small as 10 gallons to as large as 100,000 gallons with galvanized steel tanks. Installation will become more difficult and cost more with greater volume capacities and increasing weight.
Choose the water tank volume that will store enough water for all intended uses and that is capable of being regularly filled by your water source.
Tank Material
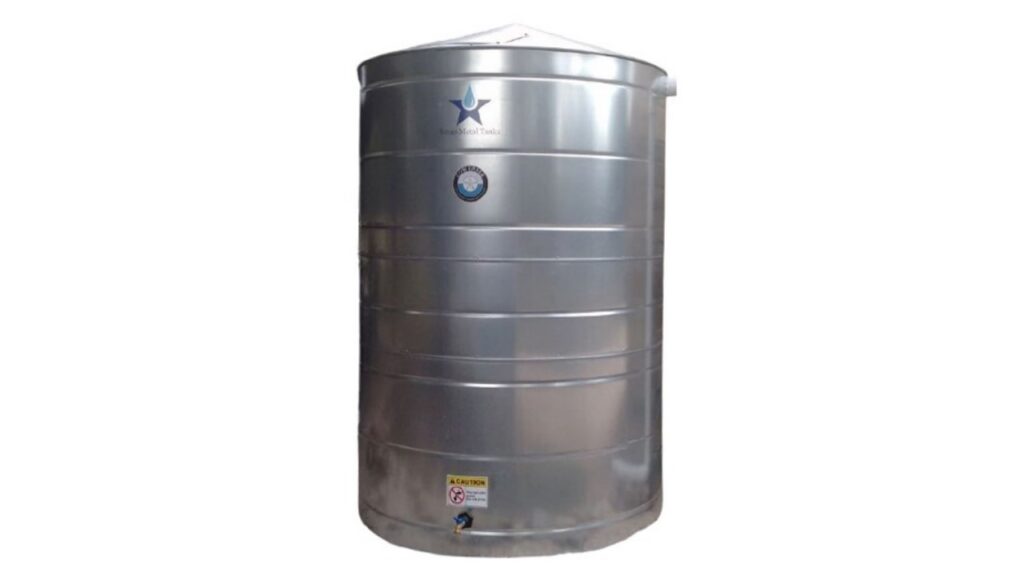
For water storage applications, tanks can be metal tanks made from galvanized steel and stainless steel or plastic tanks made from high density polyethylene (HDPE). Polyethylene tanks are the most common. This is due to polyethylene’s ease of handling, water compatibility, resistance to rust and weather effects, reduced cost, and range of volumes and styles.
Whenever choosing a polyethylene tank for drinking water use, it must be manufactured from BPA free, ANSI / NSF 61 approved, FDA food grade certified virgin resin only.

Price
Purchasing a water tank can be limited by a set budget. The total price of water tank installation will depend on costs associated with tank purchase (poly tanks are often priced between $100+ to $39,000+), shipping and handling (shipping large water tanks can cost hundreds of dollars due to their size), handling for placement (as when lifting equipment is needed), and when detailed site preparation is necessary (as with reinforced concrete pads).
See our post Why are Water Tanks Expensive to Ship for more info on expected tank prices.
3) Choose an Ideal Water Tank Location
Before site preparation, choosing the location for the water tank is one of the more important and detailed factors of installation. An ideal water tank location may or will have:
- Site proximity to shorten plumbing connections and be readily accessible for use, hookups, and cleaning maintenance.
- Avoid or limit sun exposure to moderate both water temperature and algae growth by placing the tank along structures, under vegetation or within a designated sunshade.
- Be on a hill, stand, or roof to provide water pressure by gravity direction rather than a pump that requires an energy source.
- Consider stormwater management to prevent erosion and water collection, especially near structures where foundation damage could occur.
- Be on a flat, level area with ground conditions suitable for proper preparation depending on tank size.
For consideration in water tank placement and avoiding sunlight, if you live in the northern hemisphere, installing tanks on the north side of structures will be most effective in reducing tank sun exposure. These statements are reversed if you live in the southern hemisphere.
Many consider ideal water tank locations to be underground rather than above ground. Above ground tanks are exposed to the elements, potential contamination by pests, as well as concerns with freezing or impact damage. While an underground water tank can protect against these concerns, installation requires extra steps, equipment and must be correctly performed for proper installation and to avoid tank damage.
See our post Aboveground vs Underground Water Tanks to compare the pros and cons of each tank installation location.
4) Perform Site Preparation
For above ground installation of water tanks, the tank’s entire bottom should be firmly and completely supported on a flat, clean surface. The extent of preparation and base material will depend on tank total volume and weight.
Base Materials
Suitable base materials can include compacted earth, gravel, sand and gravel mix, wood, brick, metal, and concrete slabs. The solid, stronger materials should be used for larger tanks that will have greater water weight. Water weighs 8.34 lbs/gallon, so a 1500 gallon tank can weigh as much as 12,510 lbs. This is a significant amount of weight and volume of water that can hold serious outcomes from an incorrectly prepared tank foundation.
Tank Base Requirements
*Note: the following is for contractors and installation professionals and for water tanks greater than 15,000 gallons.
For tanks that weigh less than 800 lbs/sq.ft. when full, a base made of firmly, even-compacted earth, sand/gravel, brick, wood, or pea gravel is acceptable. Concrete is always an acceptable choice. Tanks that meet these ratings are often those beneath 15,000 gallons. For tanks greater than 800 lbs/sq.ft., concrete should be used, often reinforced and from 3” to 5” thick.
Retainment walls are recommended in all tank base constructions to promote structural durability and resistance to weathering such as stormwater flow and erosion. The area of a water tank base should be sized to extend at least 4” from the edge of the tank sidewall and continue fully around the tank. This will improve weight displacement and offset erosion patterns.
For water tank foundations made from not-setting materials, such as compacted sand, gravel and wood, tank placement can occur immediately following final inspection. A final inspection of the foundation work should always be performed to ensure the site is level, solid and that no oversights have been made regarding overflows, stormwater runoff and necessary base line extensions.
For water tank foundations made from setting materials, such as concrete, after proper installation and indicated setting times, often at least 48 hours, the tank should be okay for placement and use following the final inspection.
Special Notes & Calculations:
To calculate lbs/sq.ft. for water tank installation:
- Multiply Water Weight by Tank Volume in Gallons = Total Tank Weight;
- Divide Tank Diameter (in inches) by 2;
- Multiply Answer by Itself (diameter squared);
- Multiply by 3.14 (𝞹, pi);
- Divide by 144 to Convert Tank Sq.In. to Tank Sq.Ft.;
- Final: Divide Total Tank Weight by Tank Square Feet = Pounds per Square Foot (lbs/sq.ft.)
In an example: 15,000 Gallon Water Tank with Diameter = 165”
- 8.34 lbs Water x 15,000 Gallon Tank = 125,100 Total Tank Weight
- 165” Diameter ÷ 2 = 82.5”
- 82.5” x 82.5” = 6806.3 Sq.In.
- 6806.3 x 3.14 = 21,372
- 21,372 ÷ 144 = 148.4 Tank Sq.Ft.
- 125,100 lbs ÷ 148.4 sq.ft. = 843 lbs/sq.ft.;
Result: Indicates a concrete pad for the water tank will be required.
Elevated Water Tanks
For water tanks that will be installed at height on an elevated stand or roof, it is best if an engineer is consulted to ensure the capability of the structure and materials match the support needed for the large weight load of the tank.
For slightly elevated water tanks installed on some type of stand or platform made of wood or metal, use good, sound judgement on whether the tank will be adequately supported or not. Ensure the platform is level, firm, and supports the entire bottom of the water tank.
5) Move and Place Water Tanks
Moving and placing a water tank depends on the selected water tank material and storage volume. Galvanized steel water tanks often arrive in parts and are constructed on site by dedicated company professionals; a sensible option for tanks often 50,000+ gallons in size. Consumer stainless steel water tanks are often of limited capacity and size (due to material costs), so they arrive complete or nearly complete and are fairly simple for placement.
High density polyethylene water tanks range in their ease of handling by volume capacity. Many poly tanks are light enough for lifting and moving when delivered. For example, an empty 600 gallon poly tank can weigh less than 100 lbs, which means a single person may be able to move it. Heavier poly tanks can be rolled into position, taking care to avoid sharp and blunt objects that could damage or puncture the tank. This is especially true when installing a water tank during cold weather of 40°F or below and extra precaution should be taken.
A general guide for handling poly water tanks based on volume capacity:
- Many poly tanks up to 600 gallons, some up to 1000 gallons, may be handled by 1 well-abled person.
- 1000 to 3000 gallon tanks: potentially handled by 2 people and range from 160 to 400 lbs.
- 3000 to 4500 gallon tanks: potentially handled by 3 to 4 people and range from 400 to 900 lbs.
- 5000 to 6500 gallon tanks: will require 4 to 6+ people or lifting equipment and range from 600 to 1350 lbs.
- 6500 gallons and up: best handled by lifting equipment and range from 1350 to 5000 lbs or more.
When the site has been fully prepared, your water tank can be placed into position and hooked up to plumbing to begin operation. If setting up all your plumbing connections may take time, it is recommended to add at least 1” of water to the tank to weigh it down. This ensures wind or other activities will not cause your water tank to move or roll away to be potentially damaged.
6) Install Water Tank Plumbing
For Supply & Delivery
The last procedure. After choosing the ideal tank location, preparing the site, ordering, receiving and placing the tank, the next step is to connect the water tank to any and all plumbing and fittings. A water tank system can be setup and connected in many ways so it can be used as needed.
Installing water tank plumbing will involve running and joining of pipes, elbows and valves to connect the water tank to its water supply, then to any appliances, fixtures, equipment, spigots and/or faucets as applicable.
Connecting a water tank and plumbing to the water supply source is an important final step. Suitable water tank supply connections include municipal supply from water companies, well water pumped from groundwater aquifers, and rainwater harvested from catchment areas.
Plumbing Types
If using PVC or CPVC, plumbing fittings and piping must be joined using threaded connections or with the appropriate solvent cements and methods. Both PVC and CPVC can be susceptible to water freeze damage and sunlight that can reduce impact resistance over time. For these reasons, PVC and CPVC piping is often buried and installed underground.
If using metal pipe, (copper, iron), these often require solder-based heat welding and can experience rust and/or environmental corrosive effects. Note, that copper pipe is not recommended for rainwater harvesting system setups.
Polyethylene (PE) and cross-linked polyethylene (PEX) piping is a recommended plumbing type suitable for many scenarios. This is due to the piping’s increased flexibility, thermal expansion capability and resistance to the damaging effects often experienced by PVC, CPVC and metal-based plumbing.
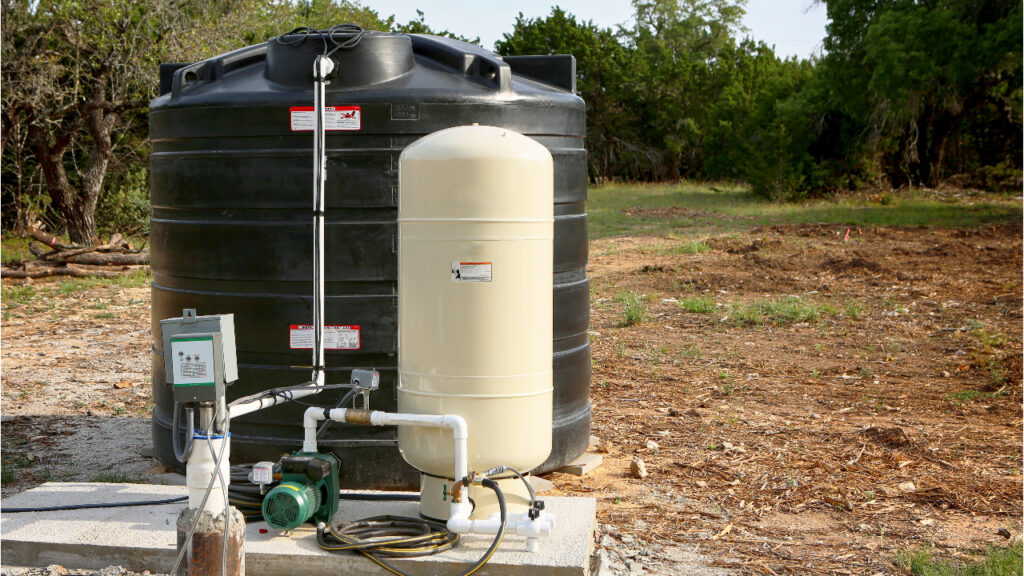
Water Pressurization & Delivery
While setting up the water tank plumbing connections, the system will require a means to deliver the water to the intended points of use. Most often, a water tank pump is used to pressurize the system and provide water to taps and equipment.
Garden hose style plumbing is recommended for irrigation type applications such as crop and garden watering. This plumbing often requires modifying the standard tank outlet fitting with a garden hose adaptor, which is a simple accessory change.
Additional Points on Water Tank Installation:
- Oftentimes, plumbing to-and-from the water tank is buried to protect from freezing, impacts and sunlight effects.
- Always use fine mesh screens at inlets and overflows in rainwater harvesting to prevent incoming contamination and pest infestations (i.e. mosquitoes and other bugs, spiders, mice, snakes, birds, etc.)
- It is best to support plumbing, valves and elbows with construction material. This will limit strain and possible impact damage that can cause disruptive damage to tank plumbing and fittings.
- Many water tanks come pre-installed with the fittings necessary for use. These include the tank inlet, outlet, manway and lid. Some tanks also feature additional ports for making secondary tank connections.
- If your tank does not have the right fitting type or size, or your application could benefit from a different port location, water tanks can have additional fittings added. Installing water tank fittings is a relatively simple process, and one that requires only a few basic tools.
- For more on installing plastic water tank fittings, see our Poly Tanks Series post on How to Install Fittings on a Water Tank.
- There are two methods for installing a secondary tank.
- Plumb tanks together near the top — this promotes filling of the second tank when the first tank becomes full.
- Plumb tanks together near the base — this allows both tanks to fill simultaneously.
- For more on connecting tanks together, see our Poly Tanks Series post on How to Connect Two Water Storage Tanks Together.
Takeaway | How to Install a Water Storage Tank
Successful installation of a water storage tank will consider and optimize various water tank details and points that can affect the functionality of the tank or the system as a whole. When installing a water tank: know what you’re using it for, choose the right tank and plumbing for the application, properly prepare the installation site, and consider tank placement in terms of proximity for plumbing and access, the amount of sun exposure, ground conditions, and resting height above service outlets.
For more on water storage tanks, consider our posts on how to clean them, on how to reduce algae growth, our guide to adding and installing fittings, or using tanks for rainwater harvesting.


As always, if you have a question or need help in product selection, reach out to us today, or consider our line of water tanks, made in the U.S. by today’s leading manufacturers.
Water Tank Products & Categories